

I’m going to teach you how to edge a flower bed like a pro! Clean crisp edges between your lawn and mulch will take your landscaping to another level. And the best part is that anyone can do it.
How to Edge a Flower Bed Like a Pro

Let me show you just how easy it is.
Step 1: Mark the Border
The first step is to mark the border of your flower or garden bed. The best way to do this is by using marking spray paint. It’s paint that comes in a special can designed to be sprayed upside down.
If you are creating an organic shape for your flower bed, you may want to lay out a garden hose and use it to create the curves.

Or if you are creating a bed with a uniform radius as I did in this example, you can use a string tied to a stake at the center point. Tie the other end around the spray paint can. This will allow you to maintain a consistent distance as you spray the border.
Step 2: Cut the Outside Edge
There are several different tools you can use to create the edge of the flower bed, but I prefer to use a straight edge shovel or spade.
Facing the flower bed, place the spade just outside of the spray paint mark, and push down into the ground at a 90-degree angle about 8cm deep. If the ground is hard, you’ll probably need to use your foot or both feet to push the spade or shovel into the dirt.

Continue this along the full length of the flower bed, staying just outside of the spray-painted line.
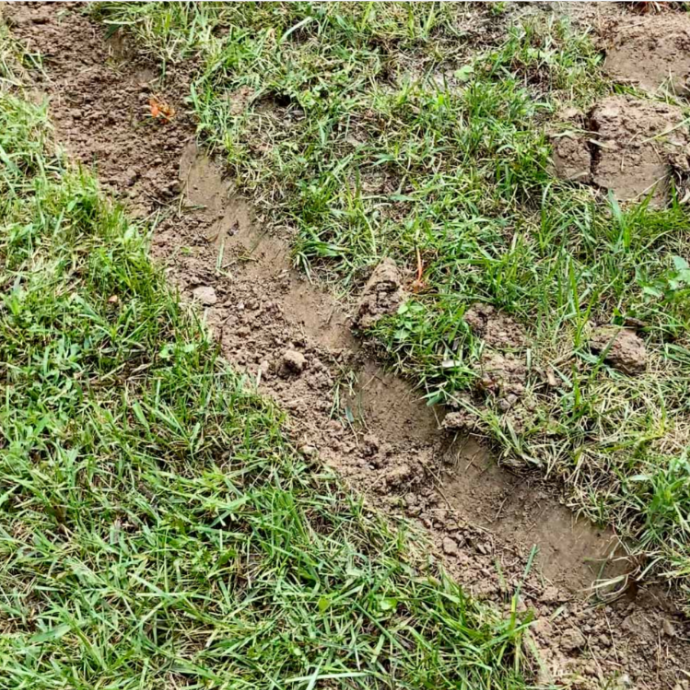
Step 3: Cut the Inside Edge
Once you have completed cutting the ground on the outside of the painted line,turn around and face the opposite direction.Place the spade about 13cm away for the line and push it into the ground at a 45-degree angle.The spade should meet the 90-degree cut you made in step 2.

Continue doing this along the full length of the flower bed.
Step 4: Remove the Sod
Now you should be able to remove strips of sod created by the cutting you did in steps 2 and 3. You can do this with a shovel, but I find it easier to do with my hands.

Place your hand under the dirt or grab a hold of the grass, and pull them up and out. Lay them to the side or place them in a wheelbarrow to be disposed of when you’re finished.
Step 5: Maintain the Edge
After putting in a lot of work creating nice and clean edges for your flower and garden beds, you want to make sure they stay looking great. I do this with a weed eater or string trimmer.

The best way to trim around a flower bed to maintain a good looking edge is to hold the weed eater so that the strings are cutting at a 90 degree angle to the ground. In other words don’t angle the weed eater, this will create a tapered look and over time your edge will start to disappear.
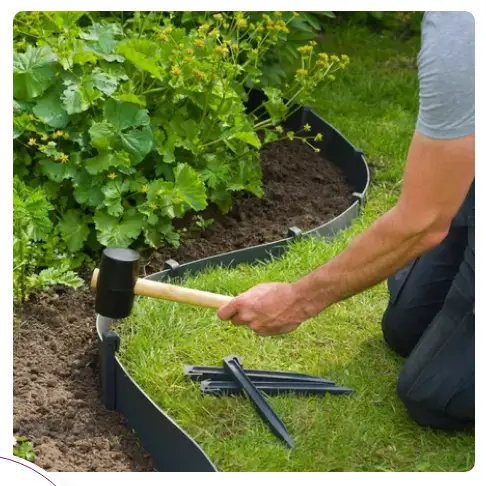
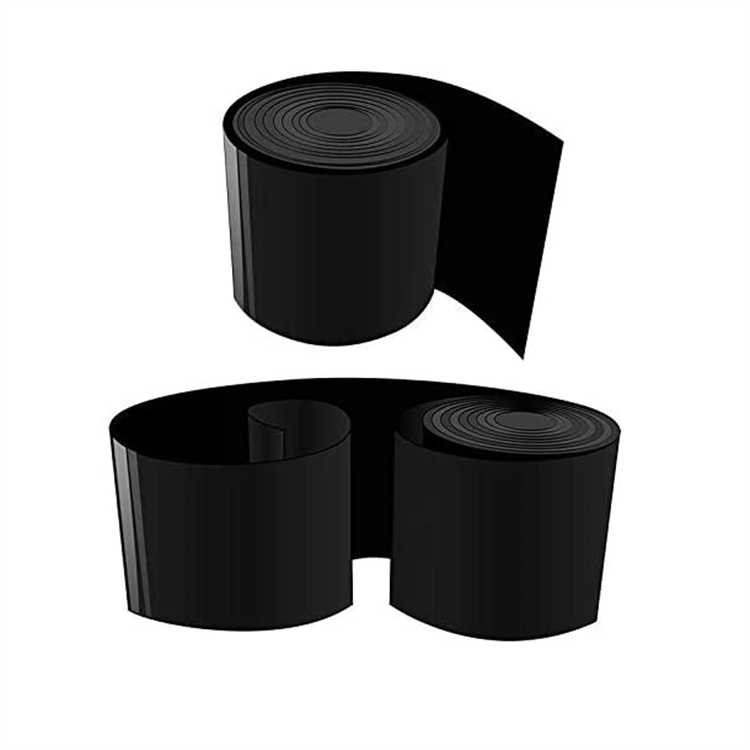
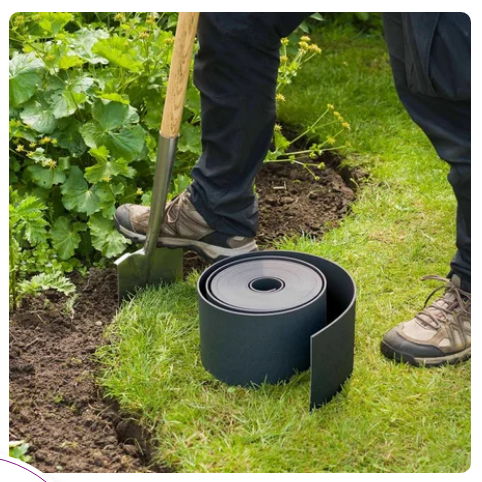
How to install the lawn edging roll
To install this edging simply dig a trench where you want the edging installed (next to a lawn, flowerbed or driveway etc). Place the edging into the trench and ensure it is sitting flush against the area you want to keep separate. Finally, backfill the area enough to secure the edging and ensure it will not move in our very unpredictable weather.
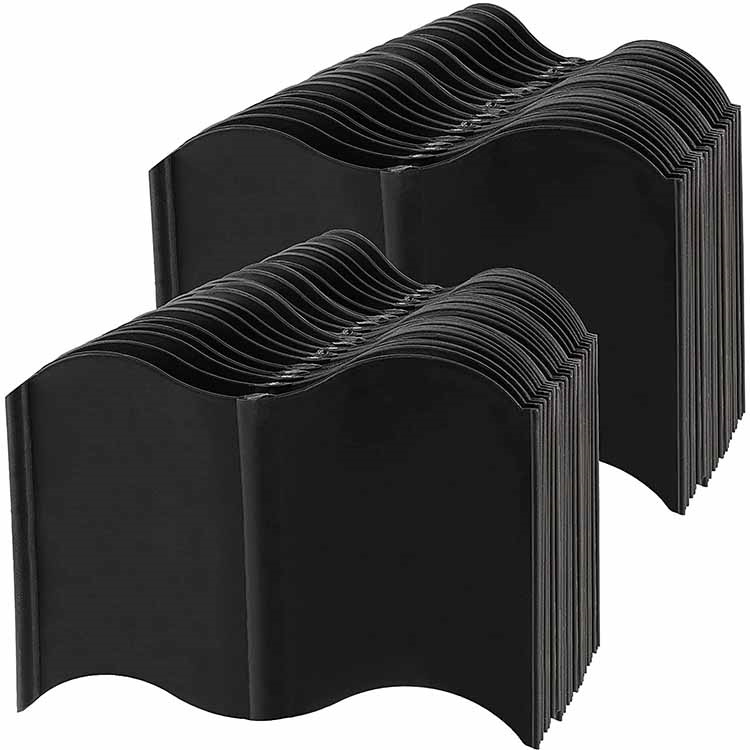
The plastic pegs simply slide on top of the edging before being pushed into the ground to prevent any unwanted movement and material migration.
Lawn edging on a roll is strimmer proof meaning it is safe from garden tidying. It will not rust, decay or rot and ensure your garden stays clean and tidy. This saves time and effort trimming and cutting to create the straight edges.